PAUL'S
RC PAGE
PAUL'S
RC PAGE
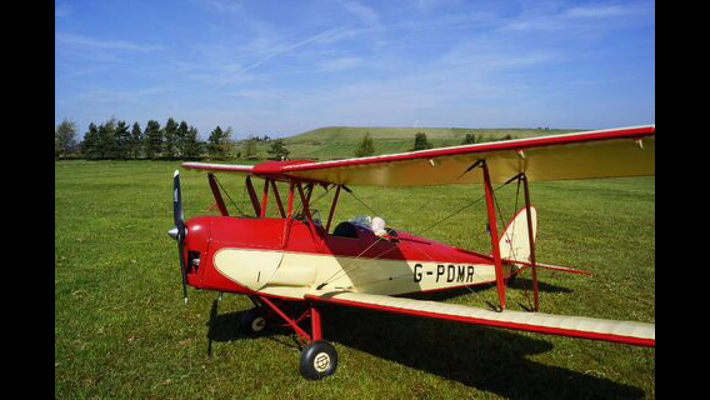
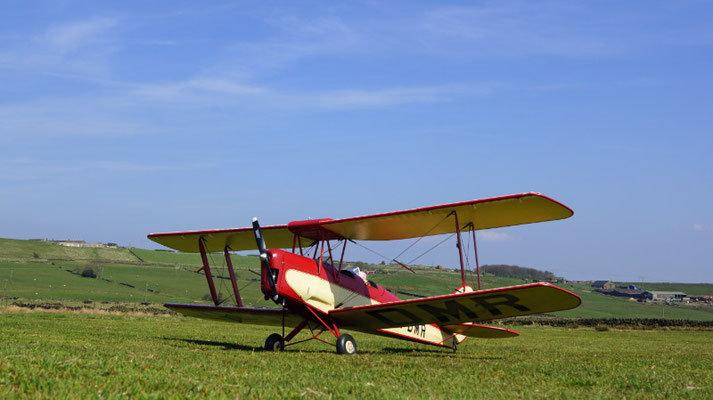
My Flair 1/4 scale Tiger Moth Build
There are many build threads, web sites and videos around on the internet featuring the Flair tiggy, and I have read most of them and even contributed to a few.
This is my take on the build of this very nice kit. I cannot take credit for all the methods and the ways things are done, a lot of the processes are taken from inspirational people who also share there vast wealth of knowledge and tips with each other, this is what this hobby is all about,and this is my small contribution to it all.
Please enjoy
Thanks.
Paul.
THE KIT
Specification
Wingspan 2260 mm
Weight 7.3~9 kg
Length 1840 mm
Wing area 144 dm2
Engine .90~1.50
2 stroke
1.20~1.80 4 stroke
Radio 4-5 channel servos
THE BUILD
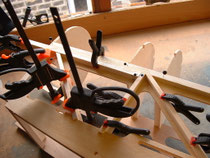
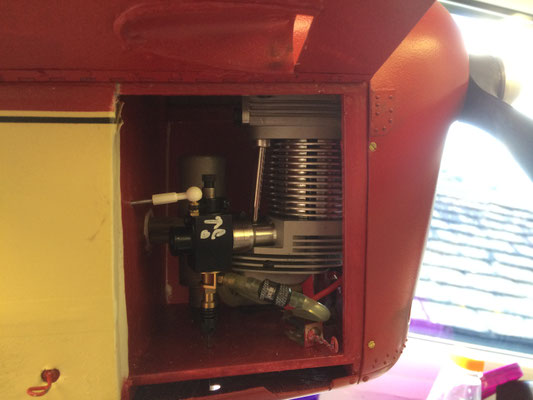
The front half of the fus is built over the plan, glued and clamped as per instructions all straight forward and the parts fit together well. The engine has all ready been purchased a Laser 150 4 stroke, a beautiful piece of British engineering. The engine bearer spacing and tank height have already been calculated.

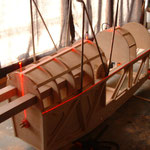
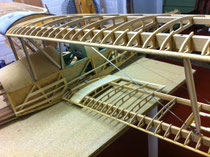
Back of fus built over the plan.
The makeup of light ply spruce and balsa ensures a very robust structure the quality of the kit is superb, non of the parts are warped and all fit together fine. I use Tightbond ll for the majority of the construction and epoxy for high stress areas.

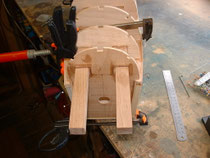
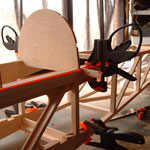
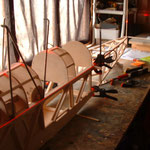
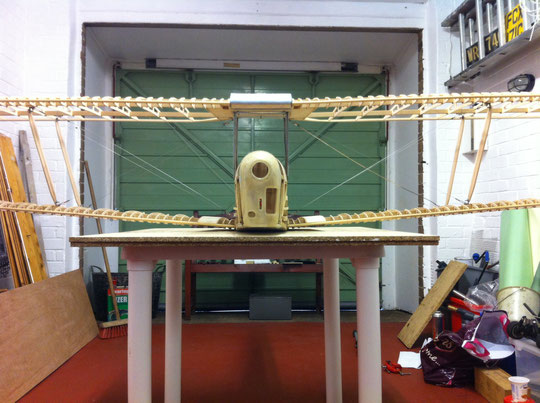
Having built the front and rear fuselage halves the next step is to glue them together.
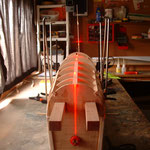
There are many steps to building an aircraft like this and some of them need a lot of attention and setting up to get right, a lot of steps if you get it slightly out, you can get round it in some way or another. This is not one of those! A lot of time needs to be taken to ensure that everything is straight and in line, you defiantly don’t want a bent fuselage just eyeing it up isn’t accurate enough for me, so I used lasers set up in the workshop,1 down the main longeron and one down the center line.
Once I was certain all was correct, it was joined with slow setting epoxy and clamped, a second check was made for alignment, and when I was happy, thin Cyno was applied in small areas to hold everything in place while the epoxy cured.
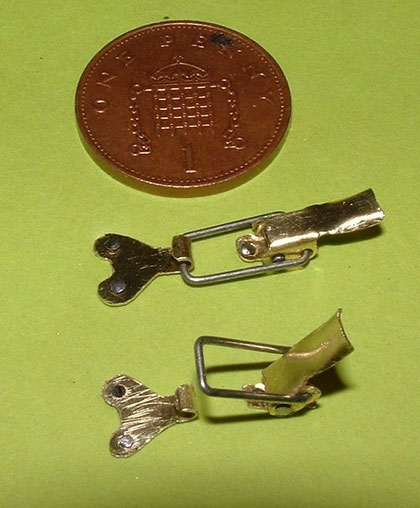
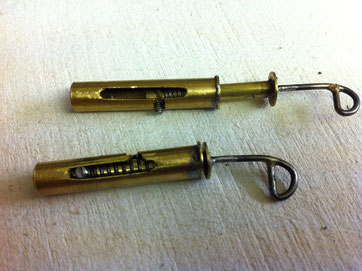
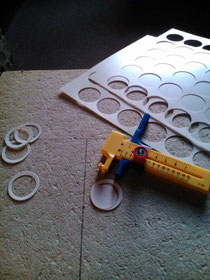
Ok so I had a go at making some catches for the working luggage compartment. I looked all over the internet for ¼ scale over center catches with no luck, so I had a go at making my own out of
Brass sheet and piano wire, with some success to get the pattern I found one and flattened it out, drew round it and then reduced the drawing on a photocopier, the only problem was the original was a little too small as was pointed out to me by Richard a man who has done a wonderful build thread on the RCMF website ( I will add the link to my Links page)
These are a few photos of my first attempt.

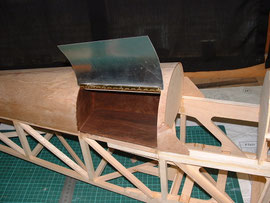
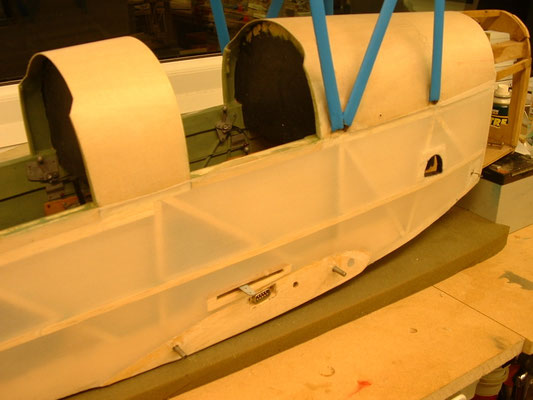
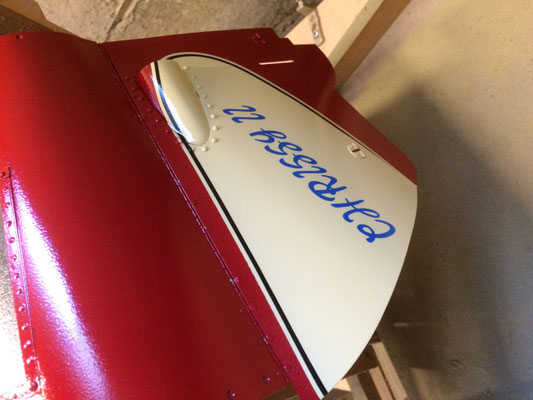
Turtle deck fitted and luggage compartment made, the door is aluminum and I have made some new catches.

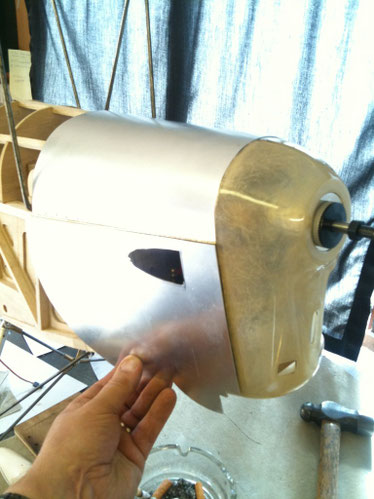
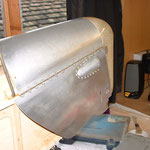
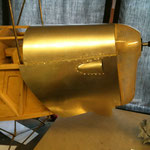
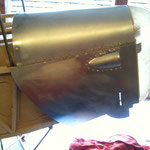
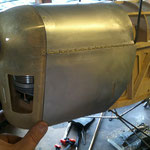
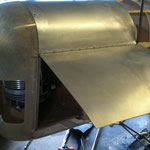
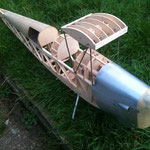
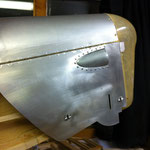
Once the fuselage was completed I set upon the cowl, the glass fibre one is excellent, but I wanted to have a go at an Aluminium one.
The front part would be really hard to replicate, so I parted it from the rest and made two hinged doors and a top out of Ally. This is not Litho plate as this wouldn’t be strong enough, I think its about 1.5-2 mm thick.
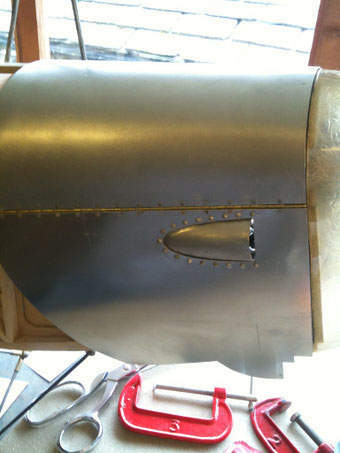
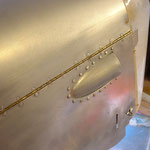
The doors were then hinged with piano hinge from a dolls house supplier and tiny model engineering rivets the air scoop was fabricated and fitted using the same method.
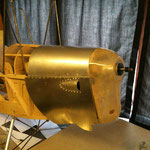
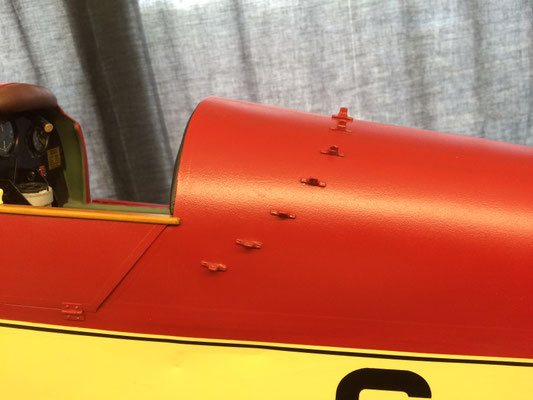
Now for the hatch fasteners.
I wanted these to replicate the full size, so they are spring loaded and hold the hatches closed under spring pressure, it took a couple of goes but I am happy with the result.


I have had a few people commenting that the moth hasn’t got any further (you know who you are!)
well last year I decided to build an airframe for my 45 cc petrol engine so me and my mate decided to build a Greenly Look under “The bits in between” at the top of this page.
But now that is finished its back on with the Tiggy.
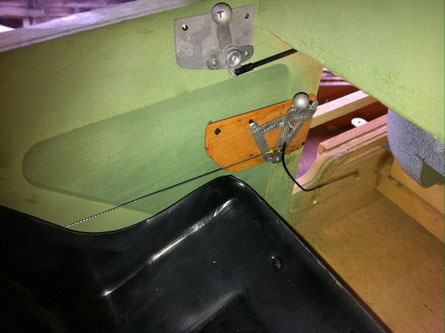
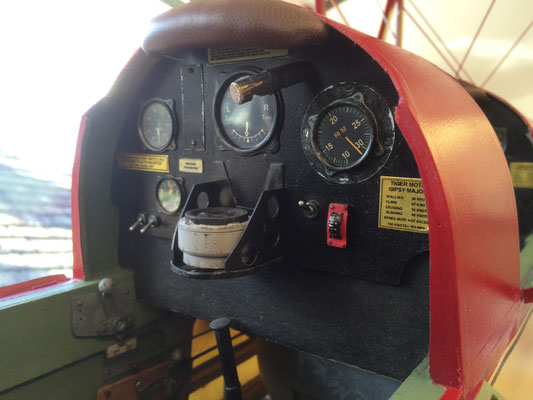
Started on the office.
Completed port side rear

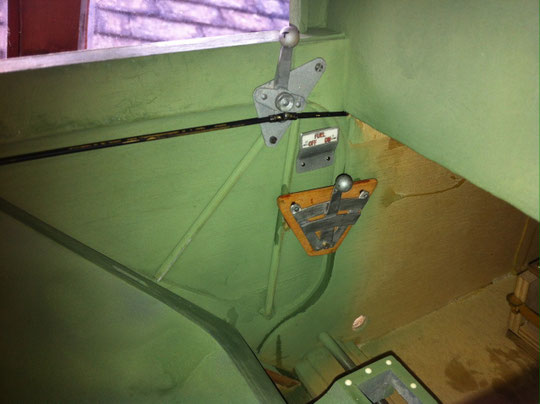
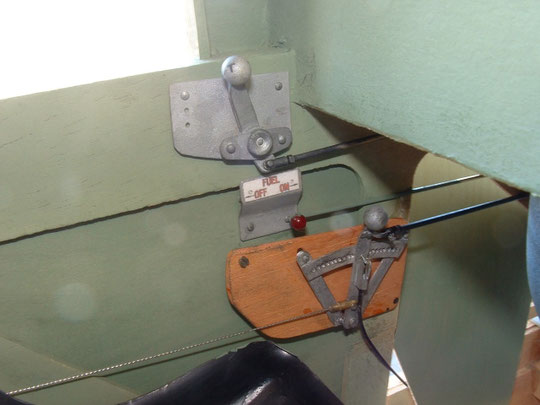
Port side front

This is one of the instrument panels from Inzpan, built up from the kit,
Painted and weathered.


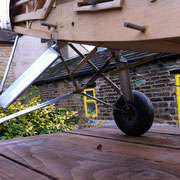
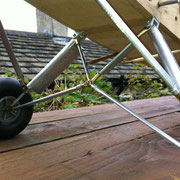
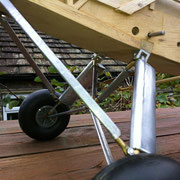
The undercarriage has been finished and wrapped in Litho plate, with rivets impressions pressed in.
Now to start covering !!!!!
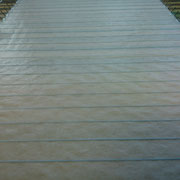
Covering started ! This is a long job, nylon and dope.
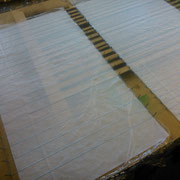
Rib Stitching
The Rib stitching is done by making a jig with nails, at the correct pitch wide enough to take a manageable piece of medium weight tissue,over a lair of shrink wrap.
(On the Moth there are 2 pitches of rib stitching, the tighter pitch is in the arc of the prop.)
Cotton is wrapped around the Jig ant then watered down PVA is brushed on and allowed to dry overnight.
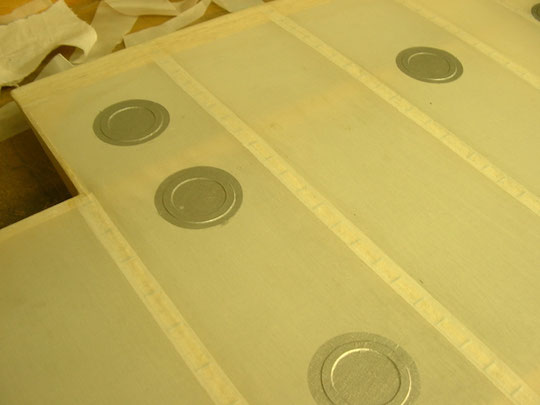
When it is released from the jig it is cut into strips around 6mm wide and doped onto the covering with shrinking dope,then a strip of Nylon around 10 mm wide is doped on top of that.
I haven't reproduced the crimped edges on the tape is so fine I don't think that the finished result will suffer for it not being there.


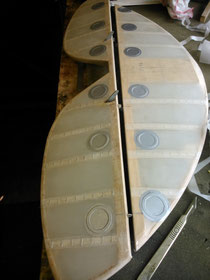
for inspection patches.
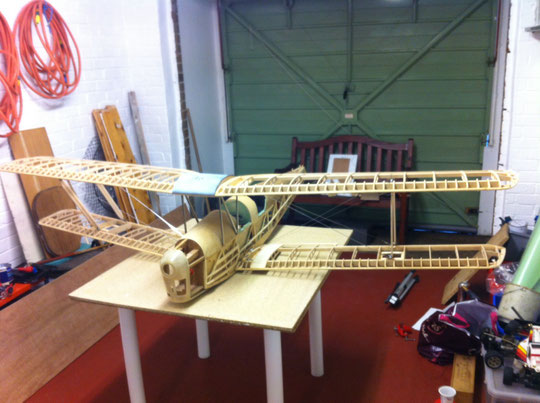
Now that the new workshop is finished and after a few visits to the flying field, its time to do some more on the Moth.
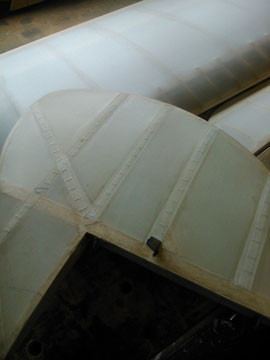
The wings are almost complete and nearly ready for primer, just the remaining inspection patches and sealing tapes to apply.

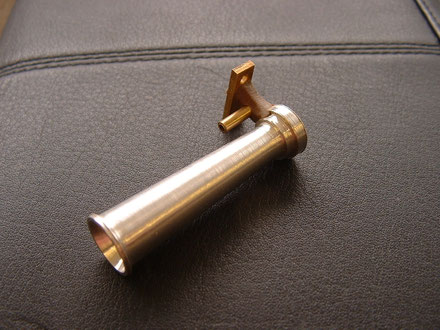
A little work on the lathe to make the venturi tube for the side of the fuselage.
Pitot tube made.

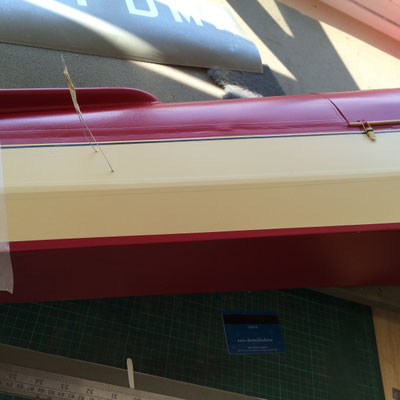
I have bitten the bullet and cant find any excuses for not starting to cover the fuselage.
So I have got the nylon on and shrunk it down.
Joint tapes to apply and then several coats of dope and talc.

Several things still to do magneto switches,screens ext so to crack on!
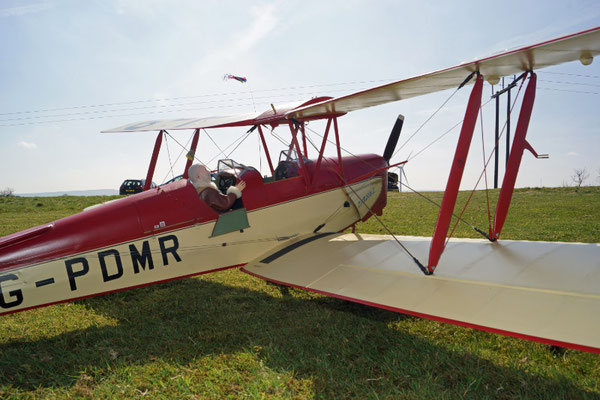
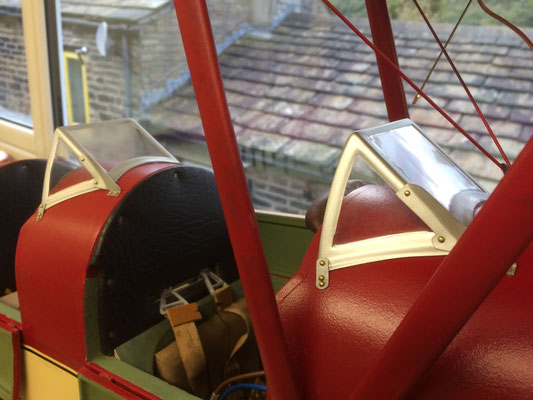
Wing strut mounted airspeed indicator (ASI)

This is an example of a real one, the numbers were always in white or yellow background.
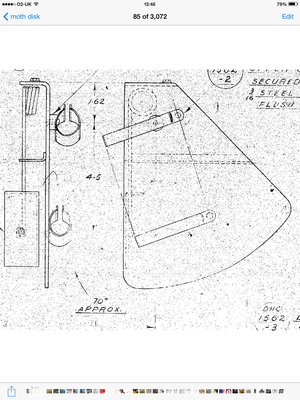


The pictures above are from de Havilland's workshop manual.
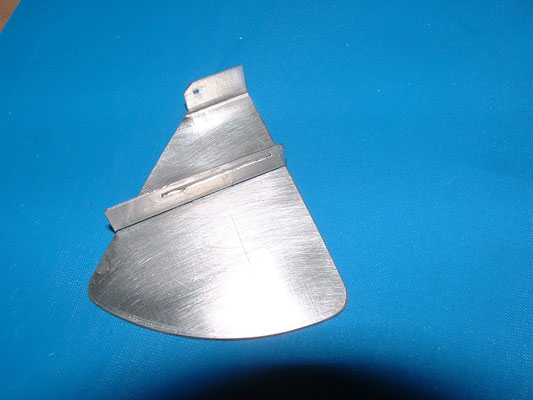
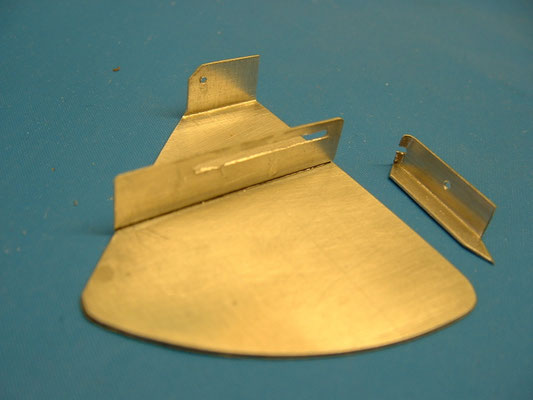
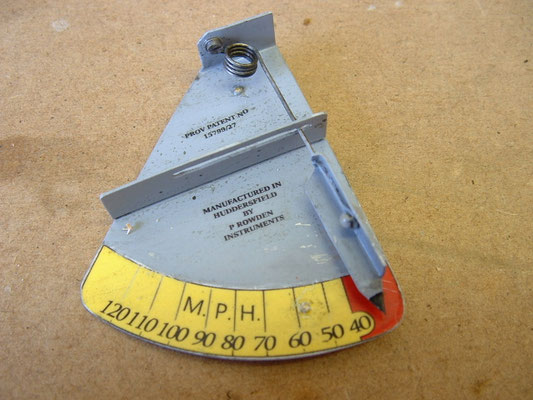
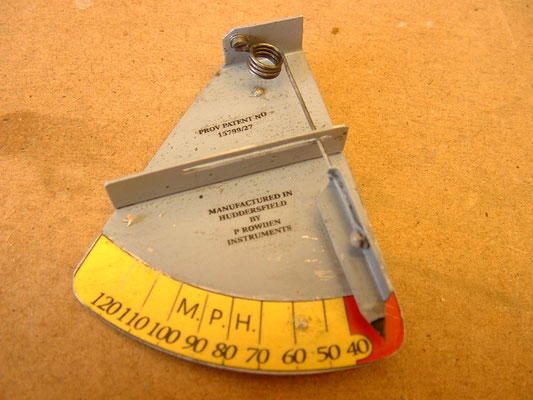
Click on one of the bottom photos to enlarge it and look at the lettering. :)
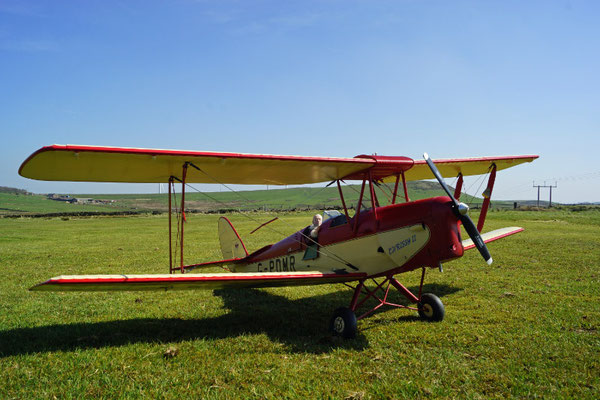
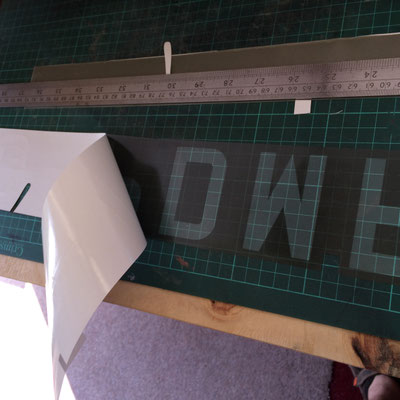
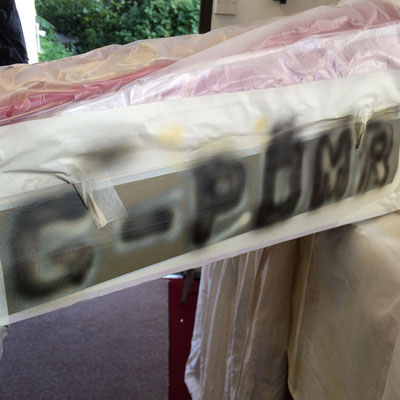
Painting and finishing


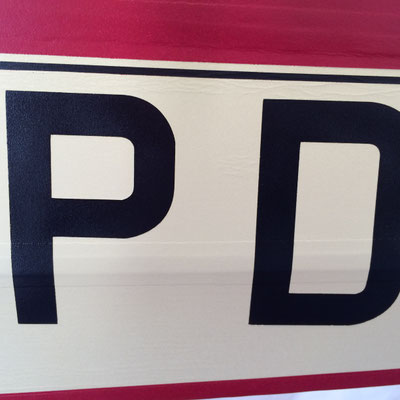
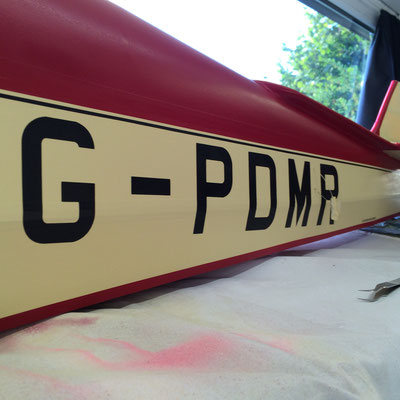

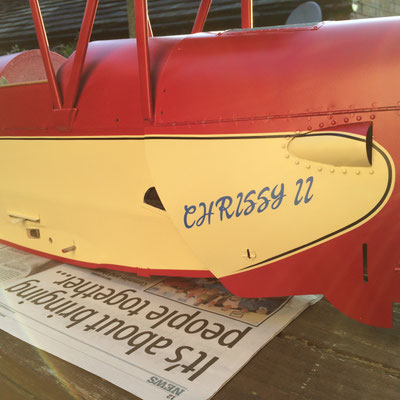

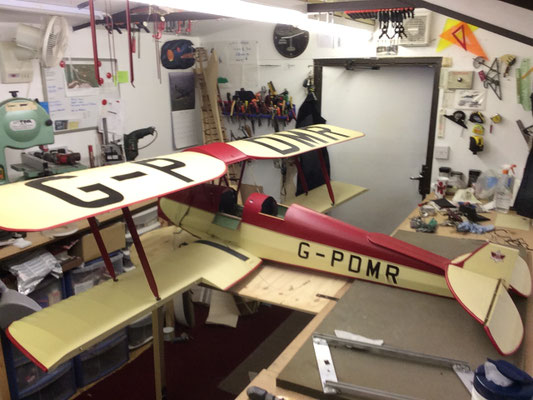

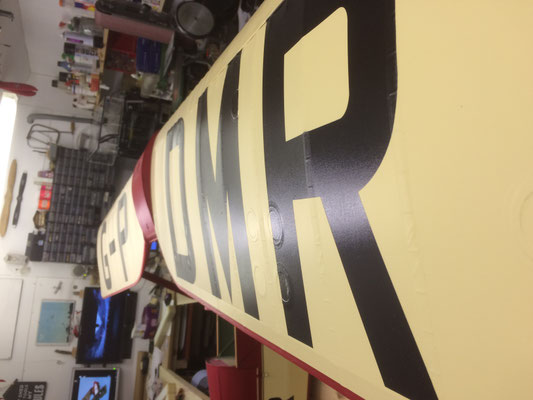


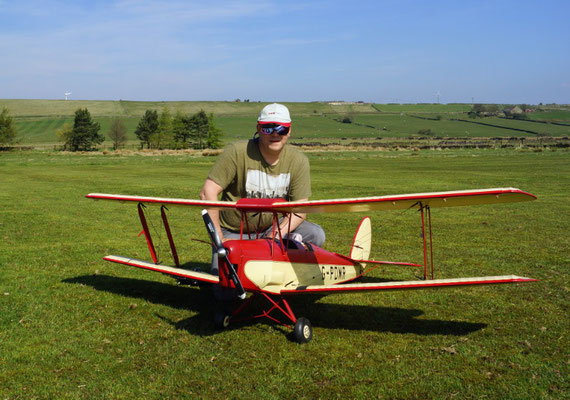
Finally finished !!!!!!!!!
now just to test fly.